Tuesday, July 30, 2013

A Couple of Things

Darkman Plush:

Made in two days: 1 day for fucking around on how to make the thing, 1 day for figuring out how to put it all together.


Tusken Raider: This. Has been. A bitch.
It's mostly done from memory, until I ran across a photo showing that I got everything wrong, and then done based off a photo. I should be able to paint it pretty soon and then wrap the thing up within a week.


Tuesday, July 23, 2013

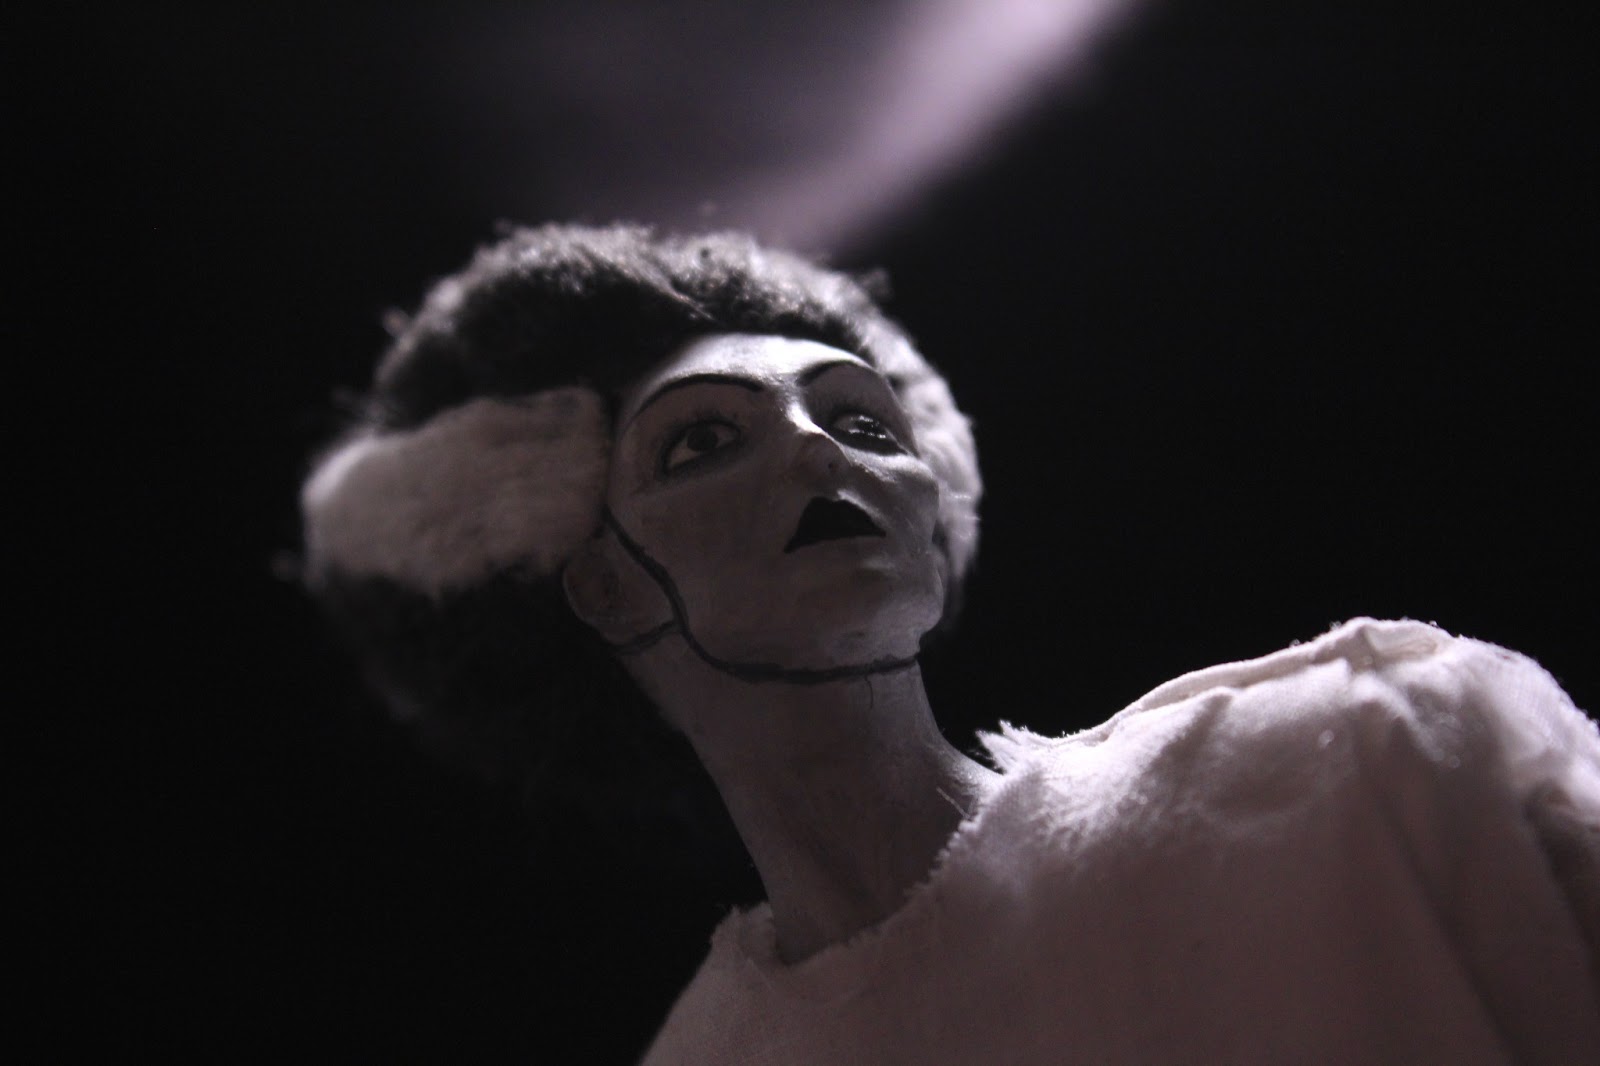
The Monster's Mate

It lives: the Bride of Frankenstein!


It was made pretty much exactly like the Mumm-Ra figure earlier. The only things worth noting are that the shoulders are padded with fleece, the eyes on this figure are covered with a super glue that not only works as a sealant but gives it a sheen that brings life into thing, the body is semi-anatomically correct, body includes stitching and is covered in bandages, fingers on the extended hand: all have broken off and attached again but the thumb, the base had to be made twice, figure is painted black and white in acrylics, the hair is the same as my "Billy" puppet and Cardboard-Leonidas Helmet but the temples are from cotton balls. It was also a bitch putting it all together.

This'll be on sale soon as I'm thinking of starting an Etsy account with this on the listing but, I feel just having this for sale doesn't feel right. So, I'm gonna make two more things, at least, and then this will be sold along with the other two (I'm thinking Tusken Raider and Invisible Man (maybe The Mummy) stuffed toy). So, stay tuned for that shit.

Thursday, July 18, 2013

The Monster's Mate WIP

A little something I've been working on over the past week. Normally, when I'm properly motivated, I can knock these out pretty fast. However, I rarely attempt to sculpt the feminine form and because of that, this came out slower than normal. Not much, but I'm in another bit of a money pickle. Here's hoping that this gets finished and bought within another week before the gangs banks come calling again.


Also, I found out not too long ago (during the time of the Obi-Saber build) that my Mask-In-A-Box commission piece was put up in the local museum as part of an exhibit for local hackerspaces. It's not increased the interest in the work that I do but that's something to be proud of anyway, I figured. Many thanks go to Dave and the other folks who were duped into buying the thing and then putting it up on display.

Sunday, July 7, 2013

Wednesday, June 26, 2013

Oh! Also...

I fuckin' love this album. Been listening to this album all week.

Seeing how I can't post videos, for some reason, this link will do.

Something for the Sake of Someting

I wanted to post something on a project that I just finished: Obi-Wan "Ben" Kenobi's lightsaber from STAR WARS/ A New Hope.


I've been collecting parts on and off over the past couple years based on the original parts used in the original prop's construction to ultimately assemble my own. Credit for the identification and reproduction of these parts go to the folks over on the RPF (Replica Prop Forum) who, through their diligence and eye for detail, identified all the parts with members who soon reproduced them.

There's a wealth of information over there and, over the years there, I ran through and plucked the information like flowers for a lightsaber-bouquet.


With info, pictures, and (finally) all the parts in-mind and in-hand; I finished a quest that I started many years ago and acquired a personal holy grail.

Built over a threaded rod, the parts remain mostly hollow with the exception of the pommel and booster gear at the bottom end of the hilt. I poured some resin into the cavity where the threaded rod goes through to secure it better (as well as to give the end section a little weight).

The grenade body and windvane section along with the emitter head were the last things to be acquired, and fairly recently, at that. The grenade and emitter are steel and the neck section is brass. They came with a beautiful machine finish but that wasn't going to last. 

The neck section soaked in oven-cleaning material (Easy-Off) to blacken and age the brass while the emitter section and grenade body were subjected to rigorous beatings. The body was dropped, kicked, rolled along sidewalks, concrete, steel, sand, dirt to rough up its finish. The emitter was cooked over a fire, with dunks in stagnant water, and lightly cleaned after each roasting to get a dark and ashy patina (the original part was subject to heat, so I felt it only appropriate that this piece should be subjected to similar conditions). This was done until the desired look was achieved. 

With the emitter in a condition I considered suitable, the grenade body got a light coat of black engine enamel and roasted over a fire to flatten the color (and have it stick to the metal better) and given a similar treatment to the emitter head. Only with more batterings afterwards.

Once that was done, both were given a slight salt water rinse, to encourage rusting, and left outside in the humid and rainy weather over the next day and a half. Exposed to the elements, the parts were able to achieve a very natural looking weathered, uh, look.


After sitting in the sun, the parts were lightly cleaned and attached to the windvane/neck section (which, too, got a good cleaning after a day in that chemical bath). Because these parts were meant to screw together (the emitter head needs an adapter to fit with the neck section), a little bit of super-glue was added to secure them tightly together.


 As mentioned previously, the whole hilt is fitted over a threaded rod, to keep the body and rear sections together, an inch and a half fender washer with a nut that fit was glued together at the end of the grenade and screwed onto the rod. A similar technique was done to the booster. Finally, the clamp was fitted over the grenade and booster and super-glued together (figured that's how the original prop was put together)...


 ...And voila!
Rapture.

Tuesday, June 4, 2013

Personal Art Thing #1

I said I wanted to do something personal, and here it is! Hot off the presses, the first in a line of paper-cuts that I hope to experiment with further in on going pieces.


This is nothing but a single sheet of bristol board (I think) with lines cut into it and raised at different heights to give sense of depth. I originally didn't want so many lines in it and the ones I did have cut were all to be raised, with light hitting them, to create shadows to imply wrinkles, form, and shape. Alas, I think of one thing in my head and my hands do another.

Picasso and that other fella he worked with in creating cubism were both fascinated with the idea of capturing three dimensions in two dimensions. I'm not saying that this is it but I, too, am fascinated with such a preposterous idea. With it, I've always been interested in reliefs and friezes and have often wanted to make my own, I just never knew what. Take what you will from it, but this piece is an experiment in both fields on a medium I just love to play around with.

Now, I just need to frame it and sell it.

Like I'd keep something like this around. Psh.