Monday, January 19, 2015

The Penultimate Update Post for Magneto's Bucket

I'm applying sealant to my buckets (yes, I made two!), or rather, letting the sealant dry while I'm typing this. Can't wait to show off what all this turmoil and tumult has lead to in the next post but, as it is, here's some stuff to catch up on:

1) Molding: Did it the way I typically mold things. Silicone and fiberglass "paste" from Smooth-On. Only thing I did this time was separate the fiberglass jacket into three pieces so it would be easier to put together and take apart.


Here's a pic of what it looks like on the inside with the nose plugged up. I was so proud removing this from the sculpt because it came off like a dream and all the details were there; no bubbles, no troubles. The original sculpt even survived unscathed! A rarity for me!


2) Casting: Mixed up some resin and pulled out two casts. One to test paints and color scheme and another to apply final applications to. 


The details captured are all there and it's all sharp and clean. The only hick-up was in the second cast as there were some air bubbles caught in some of the details and left some pockmarks. A result of what happens when resin cures too fast before settling into the finer details.


Up next: RESULTS!

Tuesday, January 13, 2015

A Little Bit More, Now

Alright, maybe not quite directly into molding the thin because I decided to refine a few things before that step.

Firstly was the emblem in the front. I reduced the flare of the wings and added these little hooks that come from them where they meet the arms. Also, I tapered them more at the connection.


Then refined the ears, making them thinner like they're seen in the movie, extending to the underside of the bucket. Adding the undercut to keep it thin when I mold it.


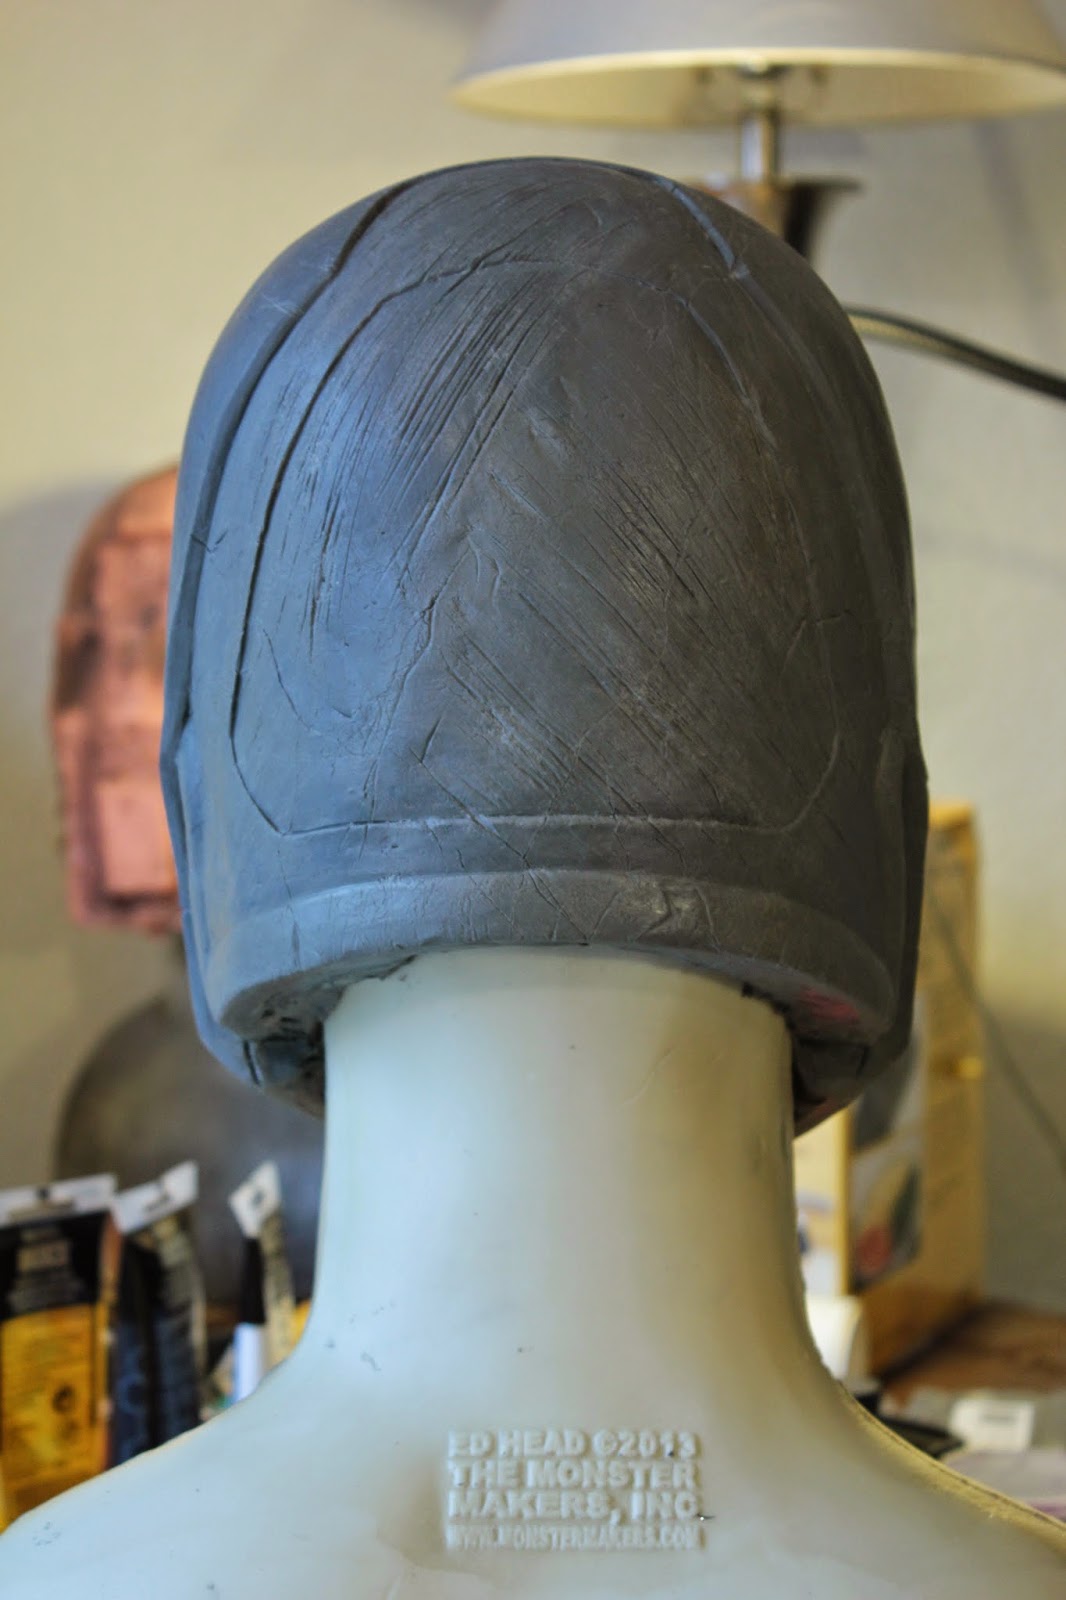
The back got some touching up, too.


Here's where it's at currently: filled in the face and kept the nose for a registry key and then about three layers of silicone on it right now. I think one more layer and then the registry keys and then onto the fiberglass mother mold.

Saturday, January 3, 2015

Well, That Was Easy

Finished adding the details on this thing last night. I guess having done this once already gave me an advantage.

Next up: molding! Again!


Thursday, January 1, 2015

New Work for a New Year...Kinda

Completely irrelevant by now but I'm still at it the ol' boy. It's at a good place for me to add the details to it, now.

Thanks much again for Ismael for letting me use his photos.


Should be good to go by the time the new extended cut of the movie hits shelves!

Saturday, November 29, 2014

BITCH

I now know why Fred Krueger likes that word so much.

These were exactly that  to make.


What originally was supposed to be a quick build only for myself for Halloween turned into a month long cursing and cutting misadventure. I can't tell you how many times I've cut myself or breathed in fumes that I shouldn't have, only to realize later, that it was most likely poisonous. The things I do to get these things made. "These" as in three; I made three to practice making them before I made one for myself.

Now, I'm not so sure, after hand-cutting everything and putting it all together, I'm relieved, excited, never wanting to do these things again.

Not a lot of pictures showing my progress early on, except this one. This was the original template I made to make my glove from. Only, this sucked and I got to a point where things were going along until I had to stop and do it all over again.


However, I will say, these were a far cry better than this thing I made eons ago out of some tape, cardboard, and fasteners I had laying around one day.


Oh, the metal ones are up on my Etsy, now.

Wednesday, November 19, 2014

Raiders Idol FINISHED

Been working on a few things for myself in my "biznus hiatus" but this was one of the first things on my list to bang out before I open up shop again.

I might remake the mold for this as these took way too much effort to try and clean up afterwards.


And here were the four before I added the gold finish. My little method of keeping the eyes stationary worked. They're filled with plaster almost completely (there's a small empty column inside just to keep it a little lighter than it would be); they're 5-6 pounds each.