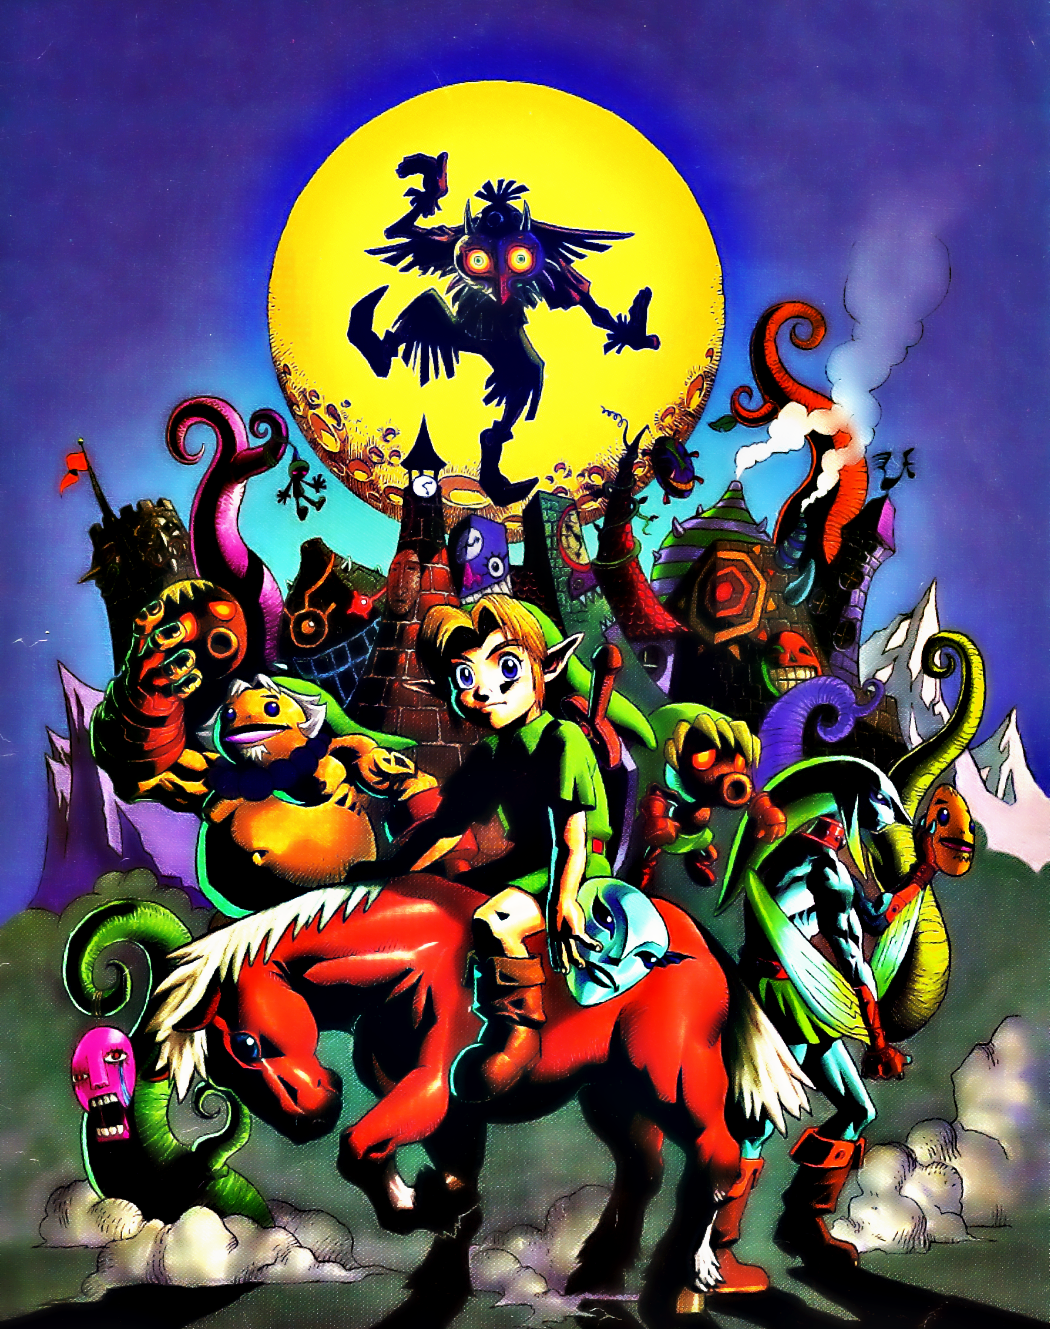
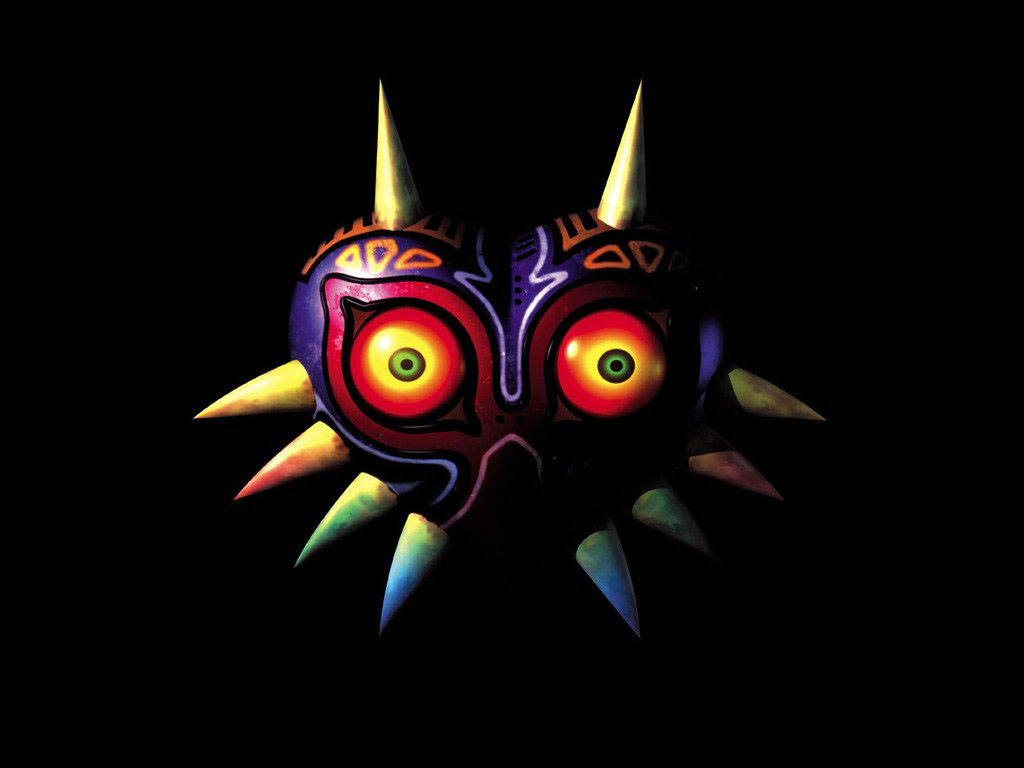
I felt the need to make something from it; why not Majora's Mask? And why not make it better than other versions?! Why not have eyes that glow and horns that rattle? Why not? Let's make it look and function as if it actually existed in the real world, based on what it's shown to do from the game.
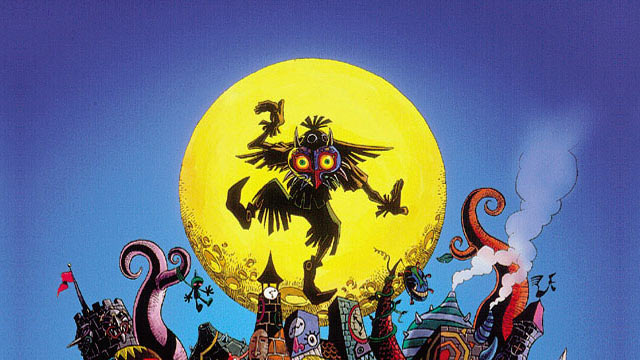
I knew I wanted to make it look slightly more like the artwork for the game than the actual game model itself. Of course, it had to look like it came from the game, as well, but reference-wise, the only thing I'm really using pictures of the game model for is color reference.
If you look at the artwork, you'll notice that the mask curves inward before it tapers to a point, as well as slightly curving around the side. The horns on the top and sides of the mask are also slightly curved, and from both images, the second horn on either side of the mask is longer than the others.
With those in mind, off I went:
Because I only have so much modeling clay available to me, I had to figure out a way to use the most of what I had. Solution: build a base to lay thin sheets of clay on top of to sculpt on. For 11 bucks at the hardware store, I got a single sheet of inch-thick, 4x8', pink, home insulation foam.
With a hack saw (again, what I only have available to me), I chopped up the sheet to smaller sheets, hot glued them together to roughly the shape I want, and spent 5-6 hours with the hack saw chopping about this foam brick.
Cleaning up the mess went much faster.
The next couple days after, I spent time sanding the chunky lump into something more smooth and shapely. Once I had enough of that, I used what Modge Podge I had left to cover the base, filling the pores, and creating a surface that wouldn't pull so much of my clay. Pictured below is what it looked like after two layers were put on. I ended up putting on three layers just to get rid of the the Modge Podge.
Once cured, I took some clay, rolled it out with a rolling pin and slapped it on top of the foam base and started sculpting, smoothing, and blending it all together. Not to mention, making sure the surface was level and somewhat symmetrical (as much as I could make it).
The picture below shows the stage of progress 7-8 hours into it.
Once it was to a point where I was happy with the thing, I used a small bowl to cut out where the eyes were gonna be. I did it four times before I was happy with the placement and, even then, that was from realizing when the eyes were in place, just how asymmetrical the sides were from each other.
A full 12 hours or fiddling, tweaking, and adjectives of "altering" later.
Looking at it now, I might have to do the eyes again; they still look like the reason why I changed it four times over before: they still look too close. If I do them any smaller, then I lose the eeriness of the mask and its proportion. At least, it's still in the early stages so I can fix it if I want, as I also plan on doing the eyes last.
We've still a long way to go, kiddies. Stay tuned.


It's inspiring seeing how productive and creative you are in the way you just throw yourself into your work. Will the mask be wearable? It'll look good on a wall mount.
ReplyDeleteLikewise with you; especially how long you've been absorbed by your short. I'm sure, in my case as well, being broke, unemployed, and seeking something better or hoping to attain something of recognition in life contributes to our endeavors.
DeleteThe mask will be wearable as well (I don't think it'd be a very good mask if it couldn't), because the fucking size of thing, I mean, why not wear it? As of right now, it sits at around 14 or so inches across and about 15 inches long and about 5-5.5 inches deep? Something like that.
Update is coming soon.